
If you’ve spotted water dripping from a joint in your guttering, you’re not alone. It’s one of the most common maintenance issues on UK homes, especially after heavy rain or a sharp temperature change. The good news is that fixing a leaking gutter joint is usually straightforward, and in most cases you won’t need to replace your whole system.
To fix a leaking gutter joint, clear away any debris, clean and fully dry the joint, then check whether the rubber seal needs replacing. Apply a bead of flexible, UV-resistant gutter sealant along the joint and let it cure before testing with water. If the fitting is cracked or warped, or the leak keeps coming back, replacing the joint will last longer than sealant alone.
This guide explains why gutter joints fail, how to tell whether you’re dealing with a real leak or just a blockage, and how to fix a leaking gutter joint yourself. We’ll also cover when it’s worth calling in a professional instead of reaching for the ladder.
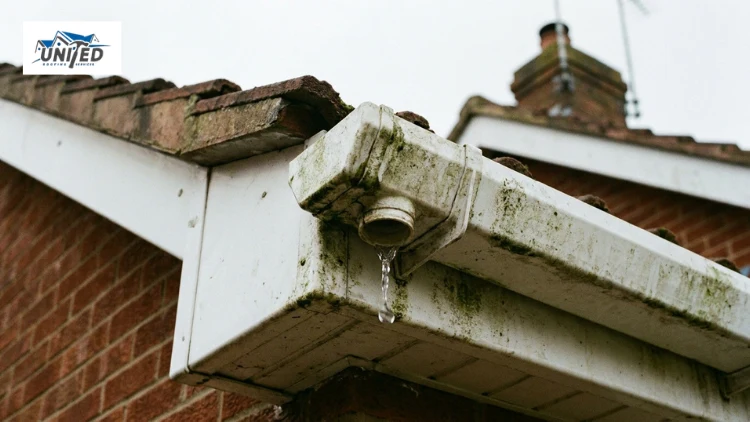
Why Do Gutter Joints Leak?
Before you start any repair, it helps to understand what’s actually going wrong. Why do gutter joints leak in the first place? A handful of usual suspects can cause leaks, and identifying the right one saves you from fixing the wrong problem.
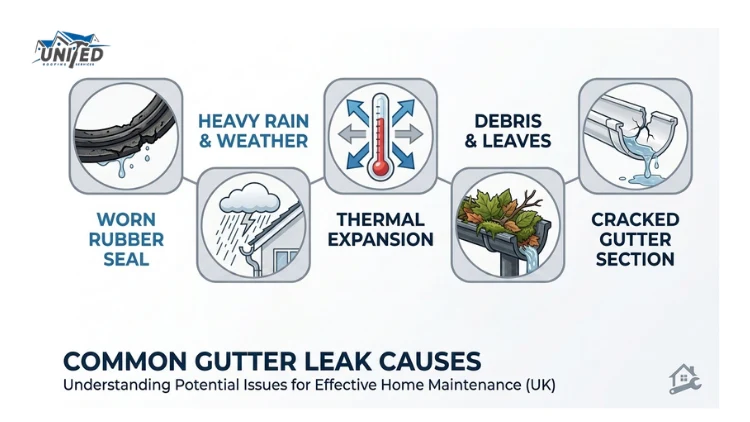
Missing or Worn Rubber Seal
Most gutter joint unions rely on a rubber seal to keep water from escaping where two lengths meet. Over time, this seal can perish, shrink, or come loose. This is by far the most common cause of a leaking joint, and it’s also the easiest to fix.
General Weathering
Guttering sits outside year-round, so it takes a beating from rain, frost, and UV exposure. Older plastic systems in particular tend to wear faster than newer ones, and joints that have done ten or fifteen years of service are naturally more prone to gaps and cracks.
Heat Expansion and Contraction
uPVC guttering expands slightly in warm weather and contracts in cold weather. Every gutter length has insertion marks that account for this movement. If a section was cut too long, too short, or fitted outside those marks, temperature swings can gradually force the joint apart or put pressure on the seal until it fails.
Debris Trapped in the Seal
Grit, leaves, and moss can work their way into a joint during colder months when the plastic contracts slightly. Once the weather warms up and the material expands again, that trapped debris stops the seal from closing properly, and water starts to find its way through.
Damaged or Poorly Installed Fittings
Storm damage, a ladder resting against the guttering, or a slipped roof tile can all crack or dent a joint. Even a small hole reduces the pressure holding the seal in place. Poorly positioned brackets are another common culprit, often causing a section to sag just enough to open up a gap at the joint.
How to Tell If It’s a Leak or Just a Blockage
Not every drip means you have a genuine leak. Sometimes water pooling near your front door or overflowing at a corner is actually a sign of a blockage rather than a fault in the joint itself.
Here’s a quick way to check:
- Water appearing at a specific joint, even in light rain, usually points to a seal or fitting problem
- Water overflowing along the whole length of the gutter, especially during heavy rain, often means leaves and debris are blocking the flow.
- A downpipe leaking at the base, rather than higher up, can mean the pipe is clogged rather than damaged.
If it turns out to be debris, clearing the gutter by hand (with gloves and a stable ladder) may solve the problem without further repair. If the leak persists after you clear the gutter, you’re dealing with a genuine joint issue.
How to Fix a Leaking Gutter Joint Yourself
For most minor leaks, repairing guttering is a manageable weekend job if you’re comfortable working at height. Here’s what you’ll need and how to do it.
What You’ll Need
- Sturdy ladder and someone to foot it
- Gloves and a soft brush or cloth
- Warm soapy water
- A dedicated gutter sealant
- Replacement rubber seal (if available for your system)
Step-by-Step Fix
- Clear the area
Brush away leaves, moss, and grit from around the joint and the gutter section on either side of it. Use a small brush or gloved fingers to clean the union itself, since a single trapped piece of grit is often enough to keep a new seal or sealant from sitting flush.
While you’re up there, it’s worth clearing the rest of the run too, so any hidden blockages don’t get mistaken for a second leak later. - Clean and dry the joint
Wash the joint with warm water and a mild detergent, working it into the seam rather than just wiping the surface. If there’s old, cracked sealant from a previous repair, scrape it off completely first; sealing over failed sealant rarely holds.
Once clean, let it dry fully; on a mild day that’s an hour or two, but in damp or cold weather, give it longer or wipe it dry by hand. Sealant applied to a damp joint will look fine on the day and fail within a fortnight. - Inspect the rubber seal.
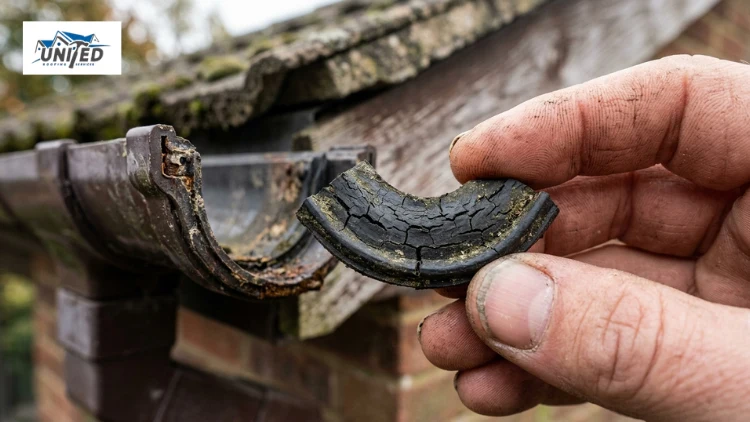
Look closely at the seal sitting inside the joint union. A worn one usually looks flattened, cracked, or pulled away from its housing rather than sitting snug against the gutter edge. If it’s in poor shape, replace it rather than sealing over it, since a failed seal under fresh sealant will leak again once the sealant flexes.
Take the old seal or a photo of the joint’s profile with you when buying a replacement, as sizes aren’t always interchangeable between brands.
- Apply the sealant correctly.
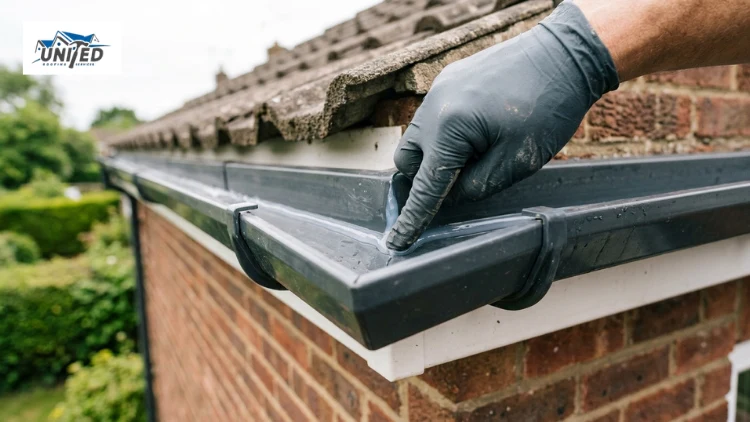
Lay a continuous, even bead of gutter sealant along the full joint, moving slowly rather than rushing it in one pass. Smooth it with a gloved finger so it sits flush rather than sitting proud in a ridge; a thin, even layer cures more reliably and looks tidier than a thick blob.
Pick a sealant rated for outdoor UV exposure and temperature flex, not a general-purpose one, and check the label for cure time before deciding when it’s safe to leave it exposed to rain.
- Give the sealant time to cure
Resist the urge to test it too soon. Most gutter sealants are touch-dry within a few hours but need a full 24 to 48 hours to cure completely, and rain hitting an uncured joint can wash the whole repair straight off. If rain’s forecast within that window, cover the joint loosely or pick a different day to do the job altogether. - Test the repair
Once cured, run water through the gutter at a realistic flow, either with a hose on a gentle setting or by pouring a few full watering cans steadily. Check underneath the joint closely for any dripping, and if you can, check again after the next proper rainfall, since a hose rarely matches the pressure of heavy rain hitting the roof. If it’s still leaking at this point, the fitting itself is likely the problem rather than the seal, which means replacing the joint is the next step.
This approach works well for small gaps, minor cracks, and worn seals. It’s a reliable way to seal guttering without replacing the whole fitting, and it’s usually the first thing worth trying before anything more involved.
How to Replace a Gutter Joint
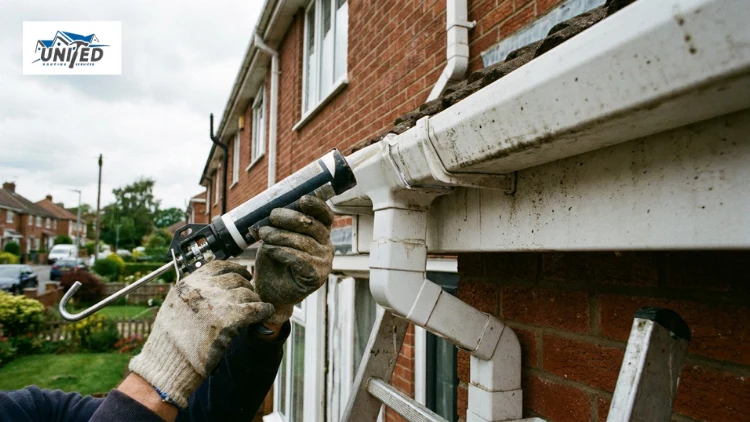
If sealant alone hasn’t solved it, or the fitting itself is cracked or badly warped, replacing the gutter joint is the more permanent fix. This is still achievable as a DIY job on most standard half round systems.
Here’s the general process:
- Unclip the guttering from the union piece on both sides and ease it out gently
- Remove the damaged joint and clean the ends of the gutter lengths
- Fit the new joint, making sure it matches your existing system in size, material, and profile
- Apply a thin layer of silicone lubricant to the new seals to help them sit correctly
- Clip the guttering back into place along the fascia
- Flush water through the length to confirm the leak is gone
Most standard half round fittings are interchangeable between manufacturers, but Ogee and square profile systems can be more particular, so double-check compatibility before you buy a replacement part.
Fixing a Leaking Downpipe Joint
A leaking downpipe joint follows much the same logic as a gutter joint leak, though it’s worth checking a couple of extra things first.
- Inspect the pipe brackets. A loose bracket can pull the pipe slightly out of alignment, opening a gap at the joint.
- Check for a blockage further down. A clogged downpipe can cause water to back up and escape at the nearest joint above it.
- Reseat or reseal the joint using the same cleaning and sealant approach used for gutter joints
If the downpipe itself has split or cracked rather than just the joint, that section will usually need replacing rather than sealing.
When to Call a Professional Instead of DIY
Gutter fixing is often manageable at ground floor height on a straightforward single-storey extension or garage. But there are situations where it makes sense to bring in a professional rather than risk it yourself:
- The leak is on a second storey or a steep, awkward roofline
- Several joints or sections are leaking, suggesting a wider issue with the system’s age or installation
- You’ve already tried sealing the joint, and the leak keeps coming back
- There’s visible sagging, water staining on brickwork, or signs of damp inside the property
- You don’t have safe, stable access to the affected area
A roof gutter repair that keeps failing usually points to something beyond a single worn seal, whether that’s incorrect fall, an undersized system, or fixings that have come loose over time. In those cases, a proper inspection saves you from repeating the same fix every few months. If you do bring in a contractor, it’s worth checking they’re accredited by a recognised body such as the National Federation of Roofing Contractors, which vets members on artistry and safety standards.
How United Roofing Services Can Help
If you’d rather leave it to someone who does this every day, United Roofing Services handles gutter leak repair across Richmond and the surrounding areas, from a single leaking joint to a full roofline overhaul. With over 25 years of experience, the team inspects the whole system rather than just patching the symptom so that you won’t be back up a ladder a few months later.
Our fascia, soffits, and guttering service covers gutter repairs and maintenance, downpipe realignment, and full uPVC roofline replacements where needed, all backed by fixed, honest quotes with no hidden extras.
Frequently Asked Questions
What’s the best gutter sealant to use?
Look for a dedicated roof and gutter sealant designed to flex with temperature changes and bond to uPVC, rather than a generic silicone.
How long does gutter sealant take to dry?
Most gutter sealants are touch-dry within a few hours but need 24 to 48 hours to cure fully, depending on the product and the weather. Check the forecast before you start, since rain hitting an uncured joint can wash it out and undo the repair.
Can a leaking gutter joint cause damp inside my home?
Yes, if you leave it unresolved. Water escaping at a joint tends to run down the wall directly below it, and over time that can lead to damp patches, staining, or even penetrating damp on an internal wall, particularly on older brickwork with worn pointing.
How often should I check my gutters for leaks?
A quick visual check twice a year, ideally in autumn before leaf fall and again in spring, catches most problems early. It’s also worth looking after any major storm, since high winds and heavy rain are when joints and brackets tend to fail.

Pingback: How Much Does a New Roof Cost in 2026? | Richmond